WebP currently provides the best performance for images, with lossless images that have a 25% smaller filesize than PNG.
Unfortunately Adobe Photoshop doesn't yet support this format on it's own, so to use WebP with Adobe Photoshop you will need to use a plug-in.
This article covers the steps for installing the WebP plug-in into Adobe Photoshop on Mac OS and Windows.
Mac OS 10.15+
-
Begin by downloading the file located at:
https://github.com/webmproject/WebPShop/releases/...Mac_Universal.zip -
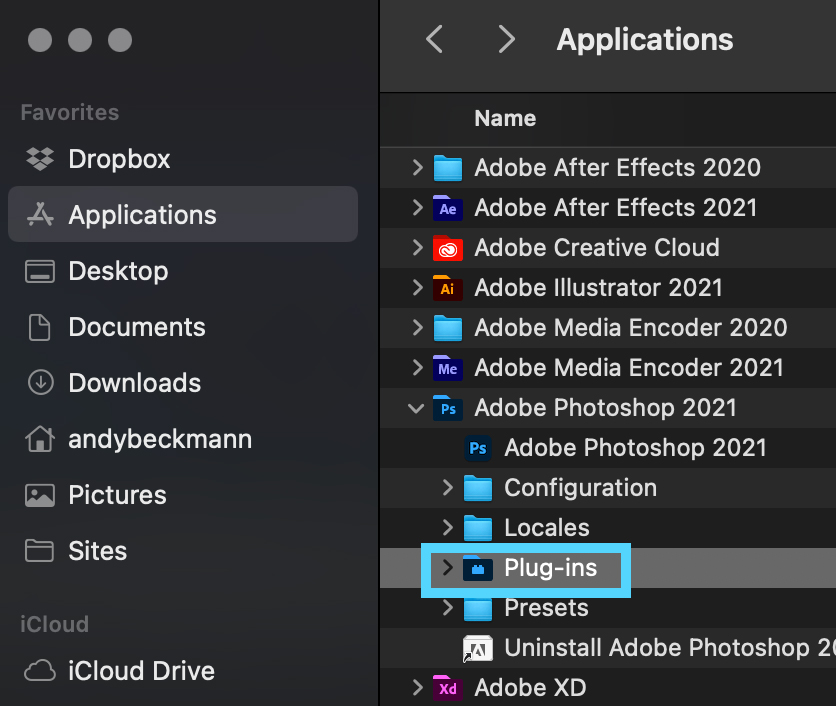
Extract the zip file to: Applications > Adobe Photoshop > Plug-ins.
-
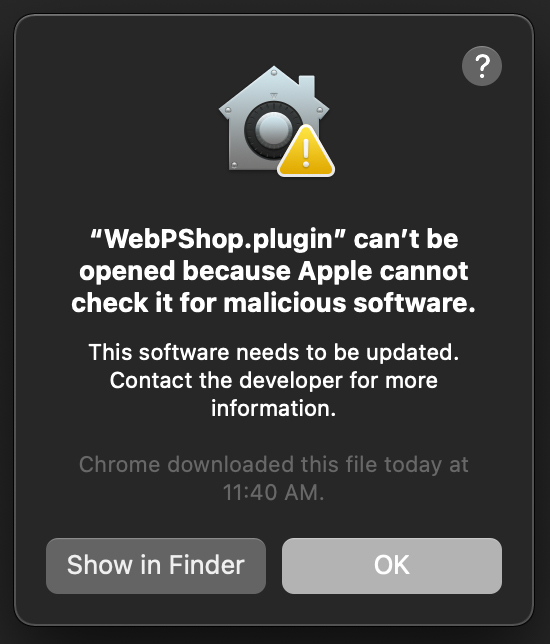
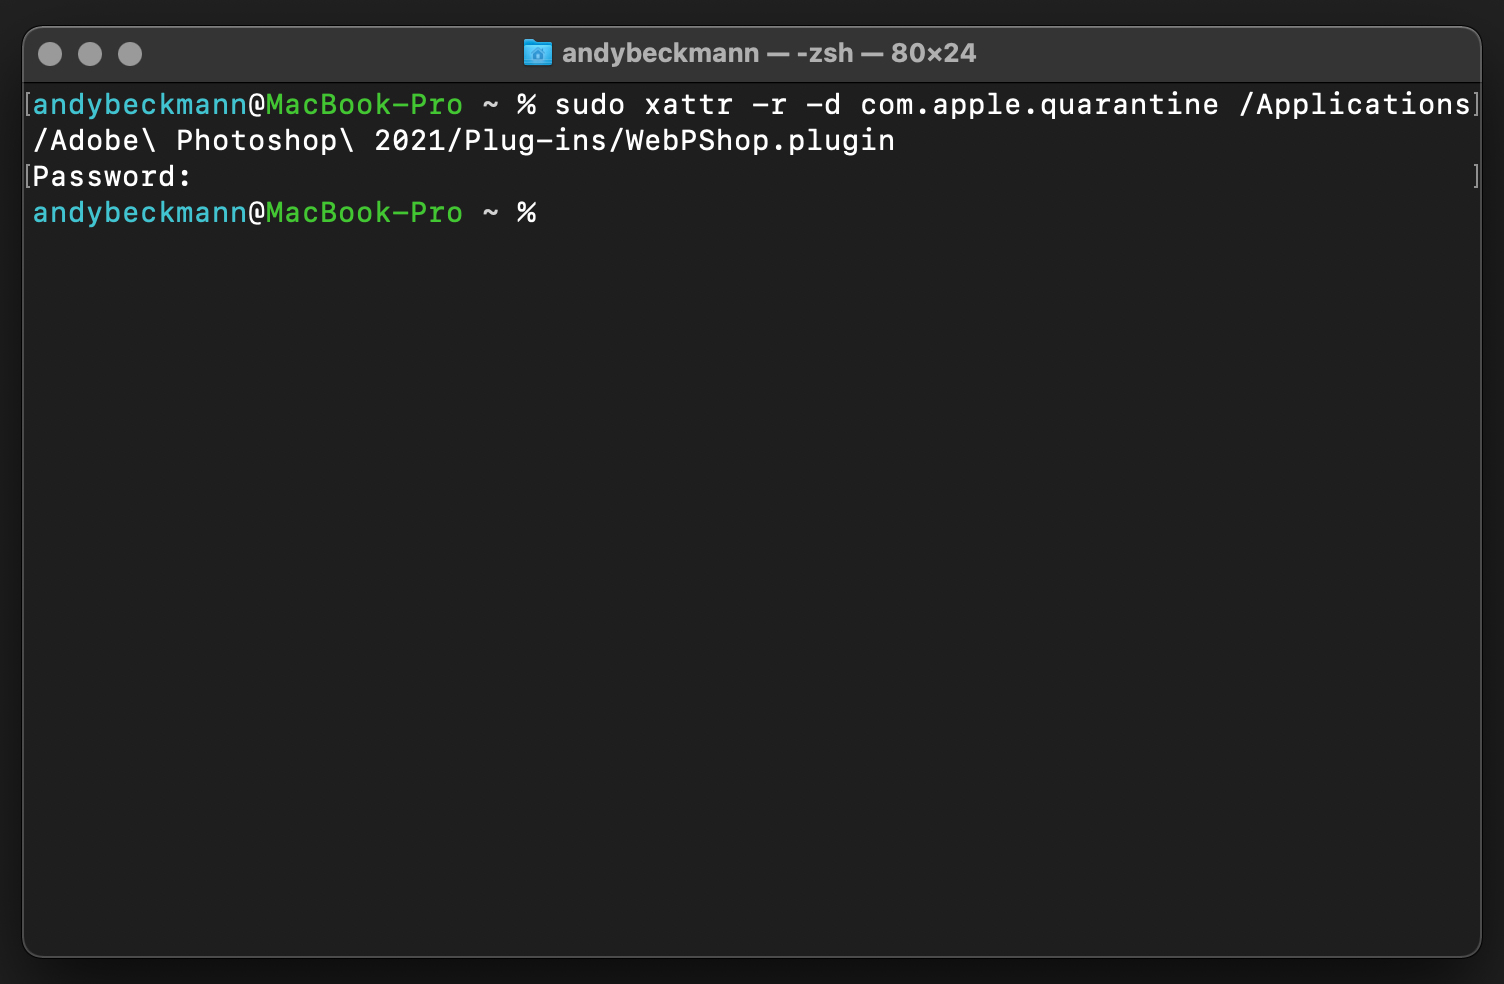
To fix this, open Terminal (Applications > Utilities) and enter the following:
sudo xattr -r -d com.apple.quarantine /Applications/Adobe\ Photoshop\ 2021/Plug-ins/WebPShop.pluginEnter your password, and you will be all set.
Windows 10
Adding WebP to Photoshop on Windows is a little bit easier.
-
Begin by downloading the file located at:
https://github.com/webmproject/WebPShop/releases/...Win_x64.8bi -
Move the file to: C:\Program Files\Adobe\Adobe Photoshop 2021\Plug-ins\
For more information, check out the project's repository: